Help Setting up a project with GeoKey
Projects are the starting point for your community mapping activities. Whether you want to map the favourite places in your city or places in your neighbourhood that need improvement — we created a straightforward interface to setup and manage projects. In a project, you define what types of data will be collected and which users can access, contribute or moderate data in a project.
This guide walks you through the steps of setting up a new project from scratch, how to create categories and fields and how to use user groups to grant permissions to users.
Create a new project
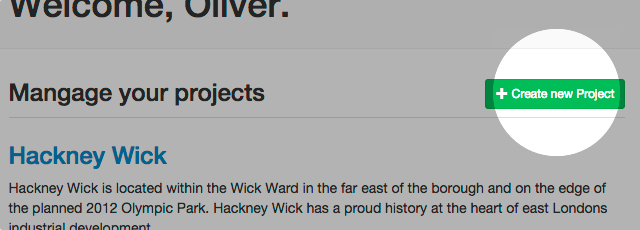
To create a new project, start by selecting Create new project on the dashboard.
On the following page, you are asked to complete a form with the following fields:
- Name: Choose a meaningful name for your project. The name will be presented to all users to identify your project. This field is required.
- Description: You can provide extended information about your project here.
- Project visibility: Here you can decide — on a high level — who will have access to your project.
- Choose Private if you want to restrict access to your a selected group of users. Private projects are accessible to project administrators and members of user groups assigned to the project. You can setup and manage user groups after you created the project.
- Choose Public if you want your project to be publicly available. Users, who want to access your data, do not have to be signed in to view your maps.
-
Project permissions: Here you can decide — again, on a high level — who gets to contribute to your project. The options depend o whether the project is private or public.
Public projects
- Select All users and any user can contribute data to your project, even if they are not signed in.
- Select All authenticated users and all users, who are signed in, can contribute data.
- Select Only members of contributor groups can cantribute, and only users, who are members of any user group that has contributor permissions, can contribute to the project.
Private projects
- Select All users and all users who have access to the project will be allowed to also contribute data.
- Select Only members of contributor groups can cantribute, and only users, who are members of any user group that has contributor permissions, can contribute to the project.
Finally, click Save to create the project. You will be redirected to the project dashboard, which provides an overview about your project.
Create a category
Now that we have created a new project, we want to setup categories and their fields for data collection.
Categories define the data type of a contribution. The fields of a category define the attributes of a contribution including their data types (e.g., text, number or date).
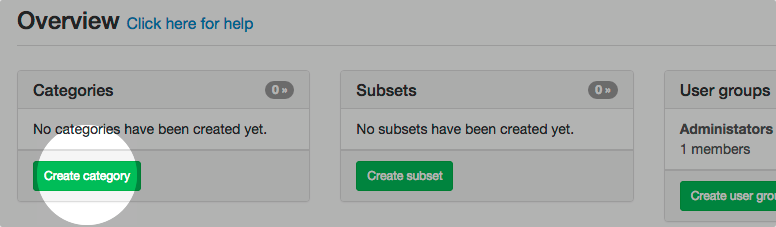
From the project dashboard, select Create category.
On the following page, you are asked to complete a form with the following fields:
- Name: Choose a meaningful name for the category. The name will be presented to all users to identify the category. This field is required.
- Description: You can provide extended information about your category here.
- Default status for new contributions: Each new contribution has an initial status, here you decide what that status should be:
- Pending: Use this option, if you want to review new contributions before publishing. A moderator of the project needs to approve the contribution before it will appear on the map.
- Active: The contribution will be visible on the map straight-away.
Click Save to create the category. You will be redirected to an overview of all fields of this category.
Create fields
Each category has a set of fields that define attributes of a contribution, their data type as well as value constraints for the field.
To create a new field select, click on Create new field.
On the following page, you are asked to complete a form with the following fields:
- Name: Choose a meaningful name for the field. The name will be presented to all users to identify the field. This field is required.
- Description: You can provide extended information about your field here.
- A value for this field is mandatory: Tick this box if you want to ensure that a value is provided by your contributors.
- Type: specifies the data type of the field.
Click Save to create the field.
Additional properties
Depending on the the field type you have selected, you can provide additional properties for a field.
Text field
- Display this field as textarea: Tick this box if the field should be displayed as text area instead of a one line input field.
- Maximum length Define the number of characters that are accepted as input. Leave tge field empty if you do not want to restrict the length.
Numeric field
- Minimum value: The lowest value accepted for the field. Leave the field empty if you do not wish to set a minimum value.
- Maximum value: The largest value accepted for the field. Leave the field empty if you do not wish to set a maximum value.
Select field and multiple select field
You edit the list of values for these fields after you have created the field.