Help Granting permissions to users
Using user groups, you can define user roles and grant permissions to their members. The user’s general role defines whether they can contribute or moderate data. You can also decide what data of your project members of a user group can access.
Adding users to a user group
Adding users is straightforward. First navigate to the user group page. You should see an overview of all members already added to the user group.
To add a user to the user group, type their name into the text box in the top left corner. A list appears that shows user names that match the name you entered; click on the name of the user to add the user to your group.

Removing users from a user group
To remove a user from a user group, click Remove next to their name in the list.

Defining the user’s role
There are three different roles you can assign to members of a user group.
- Read-only: Members can only read data. They are not able contribute data. However, members of a read-only user group can comment on contributions they can view.
- Contributor: Members of the user group will be able to view, contribute and comment on data. They are able to edit and delete data they contributed themselves.
- Moderator: Moderators are able to view contribute and comment on data. In addition they can approve pending contributions for display on the map as well as edit and delete any data in the project. Administrators of a project are moderators by default.
Everyone contributes
If you have set up your project so that every user, who has access to the project, can contribute data, it will affect the roles you have given to individual user groups. Even if you set a user group to read-only, their members will still be able to contribute data. If you wish to restrict who can contribute, you have the change the general project settings first.
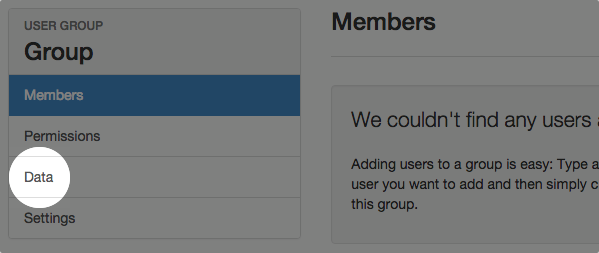
Granting access to data
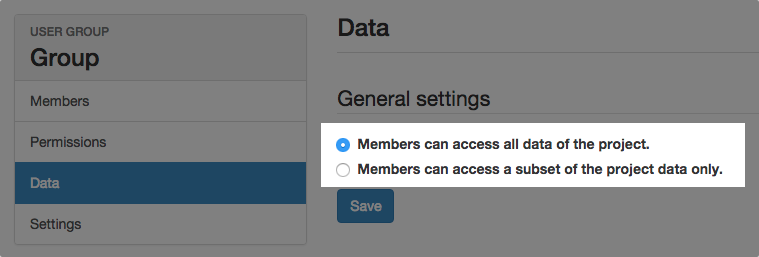
By default, members of a user group can access all data in a project.
You can, however, restrict access to contributions of certain categories and and even further to contributions that have certain values.

To restrict access to data subsets, select “Members can access a subset of the project data only.”

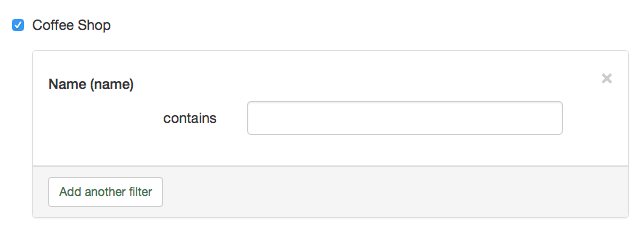
Now you can select the categories that should be accessible by members of this group. To enable a category, activate the select box next to the category name. (Note, if you do not select any categories at this stage, members of the user group will not have access to any data.)

To restrict access to contributions with certain field values, click on “Restrict further” next to the category name. Then, select the field, you want to restrict for, form the drop-down.

Enter accepted values for the field in the form.

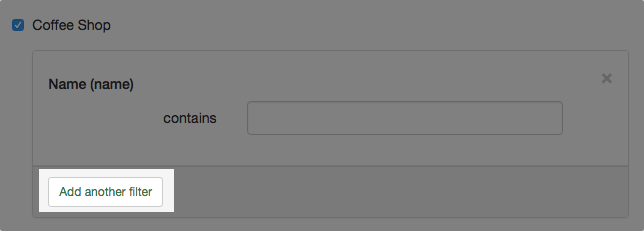
To add more filters, click “Add another filter”.

To save the settings click “Save” on the bottom of the page.